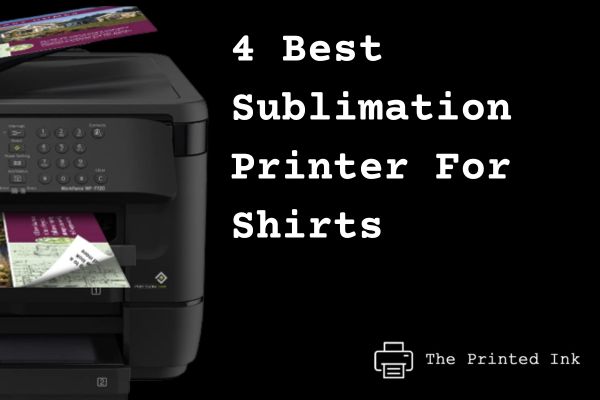
There are multiple ways to sublimate onto tee shirts but today we will tell you how to do sublimation printing on shirts the easiest way, all while getting great results. This method is perfect for beginners and it can also teach more experienced printers a new method. We’ll show you what supplies you need and the steps to take in order to get some awesome sublimation prints.
Contents
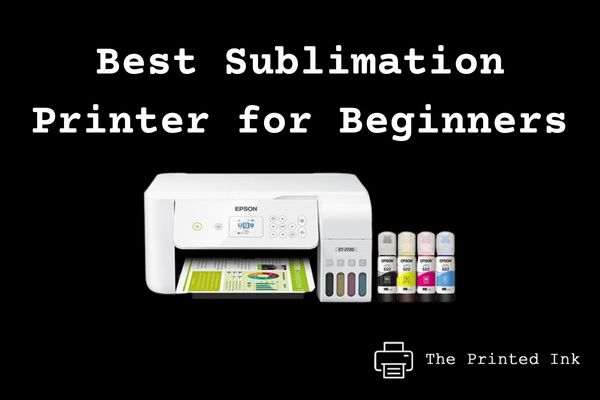
What You Will Need
- 4 shirt printing sheets (4×6″ A2 quality)
- Paper towels
- Synthetic cloth to lay the pattern on
- Digital printer (What printer can you use for sublimation printing)
- Powdered Gesso
Now you know everything you need, all you need to do is set up your printer and place the shirts on the printing sheets.
A top tip to get the color sublimates off of the shirts, simply lay them down with the pattern side up on the cloth, gesso side down.
We recommend using powdered gesso, by using standard gesso you risk your shirt printing getting ruined because the gesso will not absorb the dye. Powdered gesso will make it easy to clean up stains and it keeps the shirt from needing to be washed.
Sleeve and Cuff Printing
Instead of printing sleeves, cuffs or both, we want to show you a way to print your own visible patches. This can be done easily on jackets and shirts with a simple electrical connection and a few minutes of time. It will allow you to customize your jacket and add your personal touch.
How To Do It:
1. Print Patterns or Applique Patterns: 2 to 5 sheets of paper in color, ¼” wide and 2″ to 3″ thick
2. Design the Patch: Pull out your stencil or transfer the design from your computer, and let the printer know how you want it to be placed
3. Take your stencil and carefully press it onto the paper. You should have about 2-3 cm left over to tuck away.
4. After you have the stencil ironed on, go back over the lines in the same exact spot to make the design smoother.
The Process
You can take it easy and get a regular print shirt, a shirt with some logo on it, or get your hands dirty and get a shirt that has an image or design on it that you want to sublimate onto. Once you have decided whether to sublimate your shirt, tee shirt or jacket, here is our method broken down.
For the photo, you’ll need two prints – a reference photo of your subject, printed at a large size, this will ensure that you get the perfect size print. Or, you can have a photograph of your subject printed as a stock photo. As we will show you, this step is often overlooked.
Next, you’ll need a shirt that will be of the same size as the reference photo. The photo should have been cropped down to fit your chosen shirt or jacket.
Designing the Image
This tutorial is for making a generic skull and crossbones logo with a variety of gradient colors, nothing too complicated. We will print it using our flexo ink printing methods first before moving onto sublimation printing. We’ve been using the same sublimation shirt printing process for years so you can trust the results no matter your design ideas.
Draw the design in Photoshop (or an alternative) and color in using a tool like colored pencils. You want to be very careful when using colored pencils because it will produce a slightly different result compared to colored inks. For example, if you color in a gradient and you are not careful, you might end up with a totally different color than what you drew.
Preparing the Image
The first thing you will need is a computer to print on. If you have a PC, you can easily run this as it’s a PC application. If you don’t have a PC, a Mac is a little easier, but either way it will work. One thing you will need to do before printing is run a batch file to set up the pcb you are going to use for the printer. You can just take a standard 6.5″x9.5″x3.25″ or 11.8″x16″ blank picture and print it as one or multiple images. When you are printing this you will want to keep your mind open and change it around to see what works best. It doesn’t have to be rigid, with the rule being a minimum of 3 colors. That way you can vary colors and get some really cool colors, even metallic colors! But remember to print in black and white if you’re trying to add some color in post-processing.
Printing the Image
Now for the sublimation printing on to your shirt, get your saved design ready on your PC and prepare your shirt by the printer. Now once all set up you can simply print your chosen design onto your tee shirt and there you have it.
Conclusion.
So, there you have it, our simple method for how to do sublimation printing on tee shirts. We find that t-shirts work very well for sublimation printing and it can even help to choose a t-shirt with some color on already. As with anything, practice makes perfect, so don’t be put off if it doesn’t come out exactly how you wanted. Happy sublimating and let us know how you get on in the comments below!